


⚡ TL;DR: Learn proper nail placement for asphalt shingle roof installation in San Diego to boost durability against local winds and sidestep common pitfalls with expert tips.
📋 What You’ll Learn
In this guide to asphalt shingle nail installation in San Diego, you’ll master precise techniques for durability, local climate adaptations, common pitfalls, and pro strategies to protect roofs from coastal winds and heat.
- Master shingle anatomy for optimal nail placement by identifying key zones like the nailing strip and edges to ensure maximum hold and prevent uplift in windy San Diego conditions.
- Select essential tools and materials locally including pneumatic nailers, galvanized nails, and sealants suited for humid coastal air and intense sun exposure in Southern California.
- Execute step-by-step nailing for longevity from starter courses to ridge caps, securing 4-6 nails per shingle at exact heights for superior wind resistance and waterproofing.
- Tackle San Diego climate challenges head-on learning why precise placement counters Santa Ana winds, thermal expansion, and salt air corrosion for roofs that last decades longer.
- Avoid top mistakes with pro insights from over-nailing risks to improper spacing, plus a Point Loma case study showing real-world wind damage prevention tactics.
📖 Reading time: 7 min
✍️ Author expertise: San Diego roofing pro with 20+ years installing shingles in coastal winds and heat.
Ever watched a San Diego roof get shredded by Santa Ana winds, shingles flapping like loose sails?
That nightmare starts right here: sloppy nail placement on asphalt shingles. In our sunny, gusty climate, one misplaced nail turns your roof into a ticking time bomb.
Get this wrong during installation, and you're calling us out for emergency repairs sooner than you'd think.
Discover the precise nail spots that lock down shingles for decades, straight from local pros who've battled every coastal storm.
Asphalt Shingle Anatomy: Key Zones for Nail Placement
Asphalt shingles pack a simple design that screams for precision. Tabs at the bottom interlock. Up top, a sealant strip glues everything down once the sun hits.
But nails? They hit three critical zones to fight lift-off. Miss them, and wind rips tabs free like paper.
Prime Nail Targets
- Nailing strip: 1 to 2 inches above the sealant strip. Keeps the shingle locked without puncturing glue zones.
- Tab edges: One nail per end, right over cutout shoulders. Stops flapping in gusts up to 110 mph.
- Side laps: Secure overlaps by 1.5 inches. Nails here seal gaps against San Diego's salty air.
Four to six nails total per shingle. Space them even, 2.5 inches apart. Pros eyeball this for a grip that outlasts the warranty.
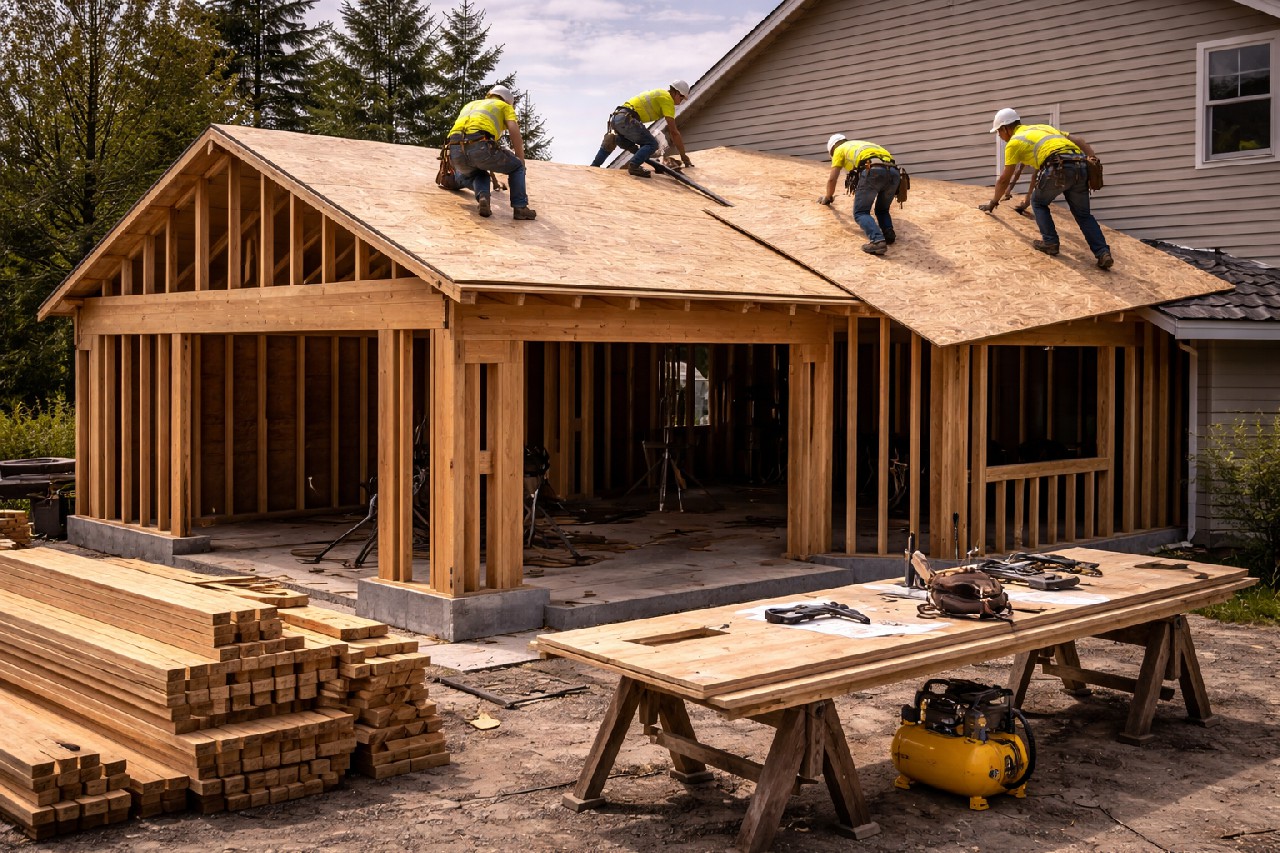
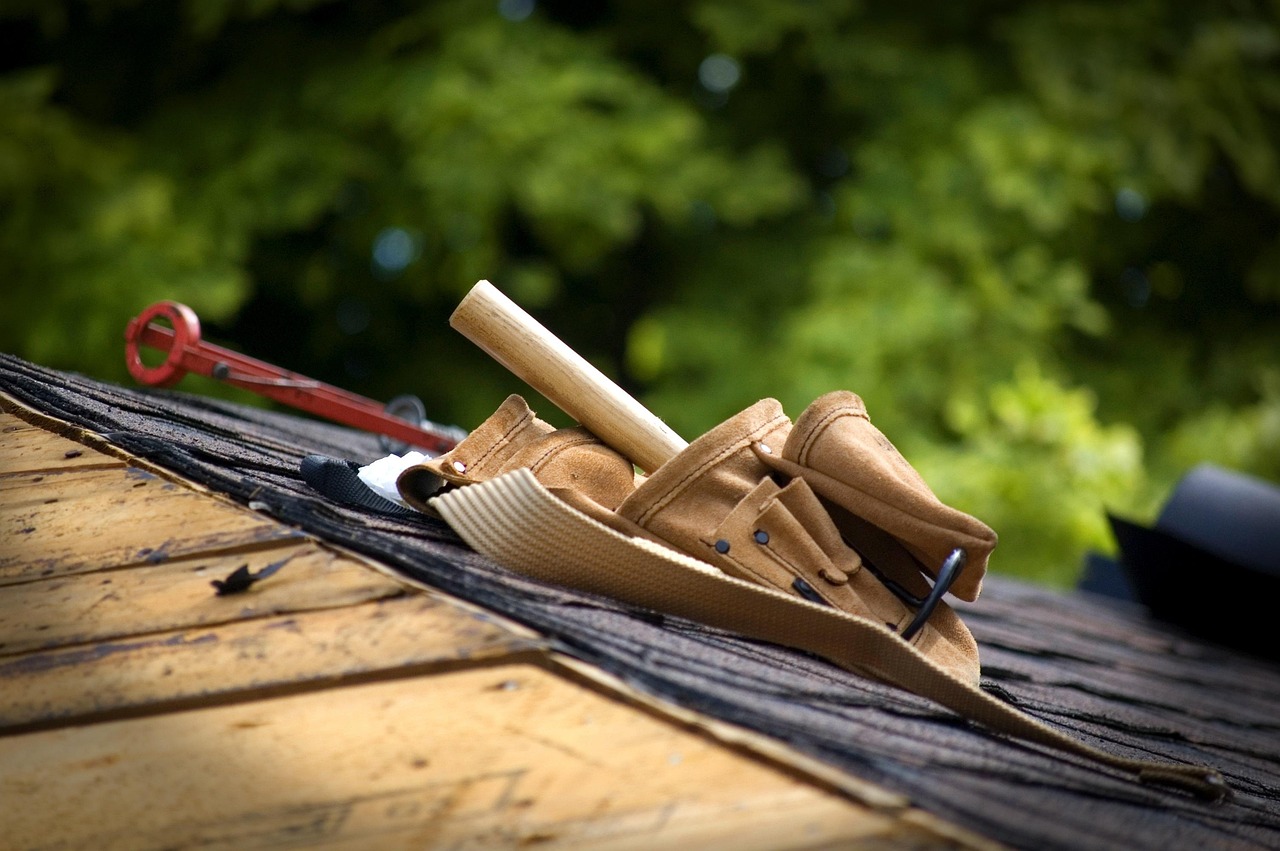
Tools and Materials for Secure Nailing in San Diego
Grab the right gear first. A pneumatic roofing nailer speeds things up without skimping on power. Pair it with a coil-fed model for non-stop action on those big San Diego jobs.
Hand hammers work too, but only if you're precise. Skip cheap ones; they bend nails and wreck shingles. Go for a 20-ounce framing hammer with a milled face.
Nails That Bite Back Against Wind
Electro-galvanized ring shank nails rule here. At least 1-1/4 inches long, they grip asphalt shingles like a vice in our salty coastal air.
- 11-gauge diameter for max hold.
- 4-6 nails per shingle standard.
- Corrosion-resistant coating fights ocean spray.
Don't forget chalk lines and tin snips. Snap straight lines for even placement. Snips trim starter strips clean, no ragged edges inviting leaks.
Sealant? Use asphalt roofing cement sparingly at edges. It locks everything down extra tight against gusts off the Pacific.

Step-by-Step Nailing Process for Maximum Durability
Start with a clean, dry deck. Snap chalk lines every five inches from the eaves to keep rows straight. Position your starter strip first, nailing it down with four galvanized nails per shingle, one inch above the sealant strip and five-eighths inch from each end.
Slide the first row shingle into place. Align it flush against the starter. Drive nails straight and flush – no overdriving that cracks the shingle.
Precise Nail Spots (Per Shingle)
- Two nails on each end, 1 inch above sealant strip, 5/8 inch in from side edges.
- Two more in the middle third, same height, spaced evenly.
- Hip or ridge? Six nails total for extra wind grip.
Use 1-1/4 inch nails for decks under 3/4 inch thick. Go longer for thicker plywood. Hammer or nail gun – either works, but pros swear by pneumatic for speed without fatigue.
Check every 10 shingles. Pull one up to verify embedment. In San Diego's heat, nails pop less when you hit this rhythm right.
San Diego Climate Challenges: Why Placement Matters Most
San Diego's weather hits roofs hard. Hot sun bakes shingles all day. Then Santa Ana winds rip in at 50+ mph, testing every nail.
Coastal fog and salt air creep in too. They weaken seals over time. One weak nail spot? Your shingles lift and peel fast.
Key Threats Nails Must Beat
- High winds: Gusts from the east shred edges if nails miss the key zones.
- UV exposure: Intense sun cracks asphalt unless nails lock it tight from day one.
- Temp swings: 50°F mornings to 80°F afternoons make shingles expand and contract. Poor placement pops them loose.
Pros nail in the 3-5 inch zone above the cutouts. It counters lift from wind and heat. Get this right, your roof laughs at our wild weather.
Top Nailing Mistakes and How Pros Avoid Them
Nothing kills a roof faster than nails in the wrong spot. Homeowners and rookies hammer away at random. That leads to shingles popping off in the first big gust.
Three Fatal Flubs We See Daily
- High nailing: Placing nails above the sealant strip. Wind sneaks under, lifts the shingle like a trapdoor.
- Low nailing: Below the key zone, right over the shingle edge. Water pools, leaks start early.
- Skimping on nails: Four per shingle minimum? Skip it, and your roof sails away in Santa Ana season.
Pros dodge these traps with laser focus. We mark zones first, every time. One wrong hit costs thousands later.
Check your line with chalk before swinging. Use 1.25-inch nails, galvanized for our salty air. Nail guns? Set 'em firm, no bounce-back wobbles.
Case Study: Saving a Point Loma Roof from Santa Ana Winds
Picture this: A Point Loma homeowner calls us in a panic after Santa Ana winds ripped through at 60 mph. Their 10-year-old asphalt shingle roof was lifting at the edges, shingles curling up like they were trying to escape.
Quick inspection revealed the culprit. Nails hammered too low, missing the key reinforcement zones entirely.
What We Found (And Fixed)
- Under-driven nails: Barely penetrating the decking, offering zero hold.
- Nails in the wrong spots: clustered at the bottom, ignoring the 1-2 inch overlap rule.
- Insufficient quantity: Only 4 per shingle instead of the pro standard of 6 in high-wind zones.
We stripped the damaged sections fast. Then nailed new shingles precisely: 5/8-inch penetration, right in the 5-inch field above the sealant strip.
Fast-forward six months. Another Santa Ana blast hits. Their roof? Solid as ever. No calls, no leaks, no drama.
Lesson here? One proper install jobbeats endless repairs. Point Loma roofs demand this nail game or they fold.
Final Words
Proper nail placement on asphalt shingles isn't just technique. It's your shield against San Diego's brutal winds and scorching sun. Skip the DIY risks. Call in pros who nail it right every time.
One wrong nail costs thousands in repairs. We've seen it in La Jolla homes after every big blow. Secure your roof now before the next Santa Ana hits.
- Expect decades of leak-free performance with expert nailing.
- Boost home value in our competitive market.
- Avoid insurance nightmares from shoddy work.
Ready for a roof that laughs at coastal storms? Dive deeper into our Asphalt Shingle Roof Installation services. Your Point Loma palace deserves the best.
People Also Ask
How many nails should be used per asphalt shingle in San Diego installations?
In standard asphalt shingle installations, use 4-6 nails per shingle depending on wind zone ratings and local building codes in San Diego. For high-wind areas like coastal regions, opt for 6 nails to ensure maximum hold against gusts up to 110 mph. Our San Diego roofing pros always follow manufacturer specs and IRC guidelines for secure fastening.
Where exactly should nails be placed on asphalt shingles?
Nails must be driven into the shingle's nailing zone, typically 1-2 inches above the sealant strip and at least 1 inch from each edge. This placement secures the shingle while allowing proper sealing and overlap. In San Diego's variable weather, precise placement prevents uplift from Santa Ana winds.
What type and size of nails are best for asphalt shingles in San Diego?
Use 1.25-inch galvanized steel roofing nails with 11-12 gauge shank and 3/8-inch head for asphalt shingles. Galvanization resists coastal corrosion from salt air in San Diego. Always choose nails rated for high-wind zones to meet California's stringent building standards.
How far from the shingle edge should nails be placed?
Position nails at least 1 inch from the sides and bottom edges, and 1-3 inches above the cutout notches. This avoids splitting the shingle material and ensures the sealant strip activates properly under heat. San Diego roofers prioritize this to withstand thermal expansion from our sunny climate.
Can you overdrive nails when installing asphalt shingles in windy San Diego areas?
Avoid overdriving nails, as it crushes the shingle and weakens the hold—aim for flush with the surface. In San Diego's high-wind zones, properly driven nails create a watertight seal when heated by the sun. Pros use pneumatic nailers with depth adjustment for consistent results every time.
San Diego Roofing provides expert roofing services to homeowners and businesses across San Diego, CA. With decades of hands-on experience, the team handles installations, repairs, and maintenance tailored to local needs. Rooted in the San Diego community, they prioritize knowledge of regional climate and codes.
Need Roofing?
We deliver fast roof repairs and replacements for leak-free, durable protection in San Diego, CA and nearby areas (92101, 92108, 92117, 92126, 92154).
Get Roof Quote